Abstract · This article provides a detailed examination of the 9HP48 Oil Seal, a critical component used in ZF's 9-speed automatic transmissions. The discussion covers its mechanical design, material composition, and functional role within the transmission assembly. By analyzing how these seals prevent fluid leaks and maintain hydraulic pressure, this article offers a comprehensive understanding of their contribution to transmission reliability and longevity.
01. The Role of the 9HP48 Oil Seal in Automatic Transmission Systems
The 9HP48 Oil Seal is a precision-engineered component designed to prevent fluid leakage in ZF's 9HP48 automatic transmission. This transmission, used in vehicles from Land Rover, Honda, Chrysler, and other manufacturers, relies on hydraulic pressure for clutch engagement and gear shifts [citation:4][citation:6]. The oil seal functions as a dynamic barrier between stationary and rotating components, maintaining fluid integrity under demanding conditions.
These seals are essential for maintaining the precise hydraulic pressure required for proper transmission operation. A compromised seal can lead to fluid loss, pressure drops, and eventual transmission malfunction. The 9HP48 Oil Seal specifically addresses the challenges of a high-pressure, high-temperature environment typical of modern 9-speed automatic transmissions [citation:3].
Fluid containment and pressure retention
ZF 9HP48 (9-speed automatic)
Land Rover, Honda, Chrysler, Jeep
02. Material Composition and Performance Characteristics
Excellent oil resistance and mechanical strength; suitable for ATF fluid environments [citation:3].
Superior high-temperature resistance and chemical compatibility [citation:3].
Reduces friction and extends seal life in high-speed applications [citation:3].
Provides structural rigidity and precise fit within the housing bore.
The 9HP48 Oil Seal is typically manufactured from high-performance elastomers such as Nitrile Butadiene Rubber (NBR) or Fluororubber (FKM) [citation:3]. These materials are selected for their resistance to ATF (Automatic Transmission Fluid), which contains detergents and anti-wear additives that can degrade lower-quality rubbers. The operating temperature range for these seals is typically -40°C to +150°C, ensuring reliable performance under both cold starts and sustained high-load operation.
03. Key Technical Specifications and Dimensional Data
The dimensions of a 9HP48 Oil Seal vary depending on its specific location within the transmission. However, standard specifications can be derived from industry data for related applications [citation:5][citation:8].
| Application | Inside Diameter (mm) | Outside Diameter (mm) | Width (mm) |
|---|---|---|---|
| Adaptor Shaft Seal (4WD) | 37 | 50 | 8 [citation:5] |
| Converter Seal | 46 | 60 | 7 [citation:11] |
| Manual Shaft Seal | 10.0 (0.394 in) | 18.1 (0.713 in) | 5.0 (0.197 in) [citation:8] |
| Differential Seal | Varies | Varies | Varies |
Dimensions are based on ZF 9HP48 component data [citation:5][citation:8][citation:11].
Specification Note: The "9HP48" designation refers to the transmission platform. Seals for this transmission are available in various sizes, and always confirm the correct part number and dimensions for the specific application.
04. Common Locations of Oil Seals Within the 9HP48 Transmission
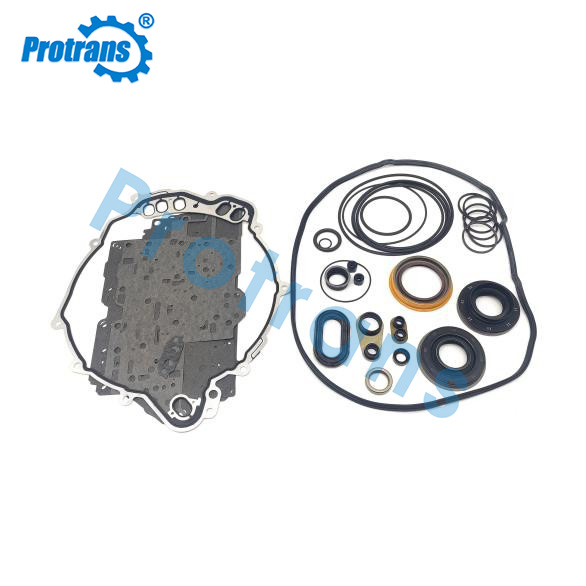
The 9HP48 transmission employs multiple oil seals at various critical interfaces. Understanding these locations is essential for diagnostic and repair purposes. The seal pack typically covers several key areas:
- Adaptor Shaft Seal (4WD): Located at the junction between the transmission and the transfer case. This seal prevents fluid loss from the transmission to the transfer case area [citation:4][citation:5].
- Torque Converter Seal: Positioned at the front of the transmission, where the torque converter connects to the transmission case. This seal maintains fluid pressure within the converter circuit [citation:11].
- Manual Shaft Seal: Seals the manual shift shaft where it exits the transmission housing. This is a common leak point in many transmissions [citation:8].
- Differential Seal: Located on the differential output shafts, preventing fluid leakage from the final drive section [citation:9].
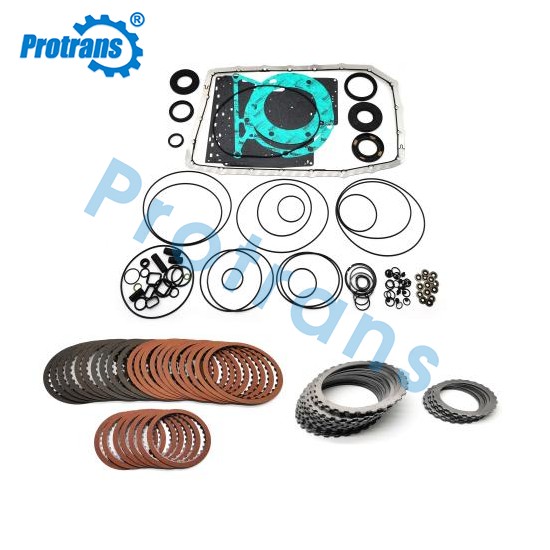
- Oil Pump O-Rings and Gaskets: These seals ensure proper sealing of the oil pump assembly, maintaining hydraulic pressure throughout the transmission [citation:2][citation:7].
- Mechatronic Separator Plate: A precision plate used within the valve body to seal oil passages and maintain hydraulic pressure [citation:6].
05. Failure Modes and Diagnostic Indicators
A failing 9HP48 Oil Seal can manifest through several observable symptoms. Early detection is critical to prevent more extensive transmission damage.
Typical Indicators of Seal Failure
- External Fluid Leaks: Visible ATF puddles beneath the transmission area, particularly near the bell housing or the transfer case junction [citation:4].
- Low Transmission Fluid Level: A persistent drop in the ATF level without any other obvious cause.
- Transmission Performance Issues: Delayed engagement, harsh shifting, or slipping, often caused by low hydraulic pressure from fluid loss.
- Contaminated Fluid: ATF that appears dark or contains metallic particles may indicate internal wear, possibly exacerbated by fluid loss.
- Burning Smell: If fluid drips onto hot exhaust components, a burning ATF odor may be noticeable.
Failure Mechanisms
- Elastomer Degradation: Exposure to high temperatures and ATF additives can cause the rubber to harden, crack, or swell.
- Metal Contamination: Particles in the fluid can abrade the seal lip, compromising its ability to seal.
- Improper Installation: Misalignment or damage during installation can lead to immediate failure.
- High Mileage: Normal wear over time reduces seal effectiveness, making replacement a routine maintenance item.
06. Installation Procedures and Best Practices
Proper installation of a 9HP48 Oil Seal is a precise operation that requires attention to detail. The following practices help ensure a successful repair and long service life for the component [citation:4].
- Inspect the Housing: Before installing the new seal, carefully inspect the housing bore for damage, corrosion, or residual seal material. The bore must be clean and smooth.
- Use the Correct Installation Tool: A seal installation tool should be used to press the seal squarely into the bore. This prevents damage to the seal lip and ensures correct seating [citation:4].
- Apply Lubricant: A small amount of clean ATF should be applied to the seal lip to prevent "dry running" during initial startup.
- Verify Orientation: Ensure the seal is installed with the correct orientation. The lip and spring must face the fluid reservoir side.
- Apply Even Force: The installation tool should apply uniform pressure to the seal's metal case, avoiding deformation.
- Inspect the Seal Lip: After installation, inspect the seal lip to confirm it is undamaged and properly positioned.
Using the correct tools and procedures is essential. A tool like the Land Rover seal driver ensures that the deep-set seal is correctly positioned in the transfer case [citation:4]. The use of a slide hammer or a home-made tool can assist with removal, while a seal driver is necessary for proper installation [citation:4].
Frequently Asked Questions
Technical specifications may vary by model. Always consult the manufacturer's documentation for your specific application.